Felix Kjellberg (better known as Pewdiepie) has made a career out of playing video games while simultaneously recording them and himself. His YouTube channel earned him $12 million (roughly Rs. 82 crore) in 2015, and he has since expanded his partnership with Disney-owned Maker Studios into new avenues, producing original content for YouTube’s premium subscription service YouTube Red and collaborating with other online stars on various campaigns in Revelmode.
(See also: Tech Mahindra launches Twitch Rival (mSportz) focused on mobile gaming
While we can’t help you develop the personality behind Pewdiepie’s Bro Army’s continued success and loyal support, we can show you the right set of tools you need to record gameplay videos – as a hobbyist or professional.
There are dozens of free screen recording tools you can choose from to get the job done, and if you’re using Windows 10, the preinstalled Xbox app has some simple recording features, too. The problem is that control and flexibility are limited. Other apps like Fraps are also an option, but they consume a lot of space recording videos.
(See also: How to record gameplay videos on Windows 10)
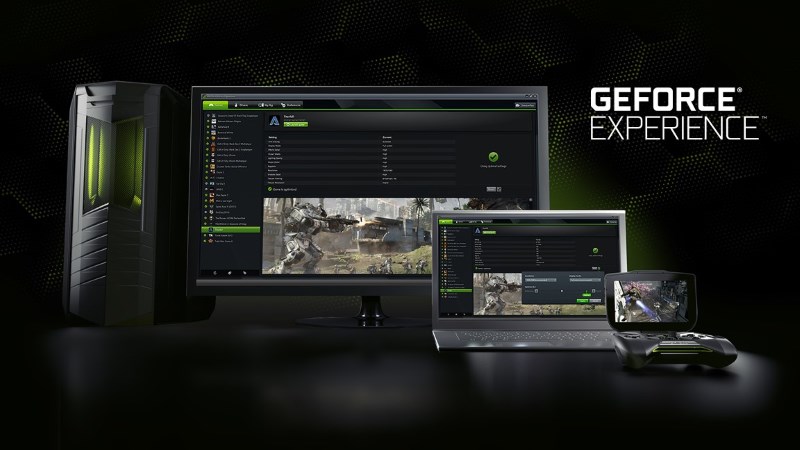
But one of the best we’ve used is GeForce Experience, a graphics card companion app that makes recording gameplay incredibly easy. If you have a PC with an Nvidia card (most gamers do), you don’t need to install anything. Thanks to its software suite called Nvidia GeForce Experience, you don’t have to look hard at all. So for the purposes of this tutorial, we’ll focus on what Nvidia has to offer.
What do you need?
Whether you plan to record and share to YouTube or live stream on Twitch, Nvidia GeForce Experience will quickly become your easiest option. GeForce Experience’s game recording feature is called ShadowPlay. Your computer must check a few boxes in order to record video. First of all, it’s impossible to do this with any regular Nvidia card. The current requirements are as follows:
- Desktop GPU must be
- GeForce GTX 600 series or higher
- Laptop GPU must be
- NVIDIA GeForce GTX 660M
- GeForce GTX 670MX/675MX
- NVIDIA GeForce GTX 680M
- GeForce GTX 700M series or higher
You’ll also need at least 4GB of RAM and Microsoft Windows 7, 8 or 10. There’s an easy way to tell if your system is compatible: Open GeForce Experience and look in the upper right corner. If you see the “ShadowPlay” button, you’re all set.
Recording video games: options available to you
Click the upper right corner to open the ShadowPlay floating box. The power switch on the left controls ShadowPlay on or off. To the right of the power switch are four buttons that control how you record gameplay footage and its different properties. A two-line summary above the button describes all the options you selected. By default it is: Game Resolution, 60 FPS, 50 Mbps, H.264.
The first of the four buttons controls the recording mode, with four options: Shadow & Manual, Shadow, Manual, and Twitch. If you plan on editing and splicing footage after playing the game, just focus on the first three. The fourth is self-explanatory as it connects to your Twitch account and lets you live stream content. Nvidia says it will soon support YouTube Gaming, Google’s answer to Twitch.
(See also: Twitch partners unable to live stream on YouTube Gaming: Report)
Choose your recording mode
So what do shadow and manual mean? Manual is the simpler one. All control is in your hands (user and player), you decide when to start recording and when to stop. This is controlled via keyboard shortcuts under Preferences, which you can change to whatever suits you. By default, Alt + F9 starts and ends recording.
Shadows, on the other hand, can help gamers capture that “Oh God!” feeling. Moments that are worth watching but aren’t recorded manually because you simply don’t expect them.
How does it work? If you select Shadow & Manual or Shadow, the GeForce Experience service will continue to record your gameplay in the background. For example, when you score a beautiful goal in EA Sports’ FIFA, or complete a killstreak in DOTA 2, and you realize you need to save that moment forever, then you just click the “Save Shadow Data” button (Alt + F10 by default). All actions that take place will be preserved in all their glory.
this shadow time button allows you to set how much content is recorded and saved in a temporary folder when playback continues. You can choose any time between 1 minute and 20 minutes. When you press Alt + F10, it will save the specified number of minutes. The only thing to keep in mind when using this setting is that file sizes can become huge, especially at higher bitrates. At 1080p gaming resolution, 60 FPS and 50 Mbps, the recorded video file size is 1.9GB for XX minutes.
Storage is a serious issue
As we managed on a recent playthrough, you could end up using more than 50GB of storage after two hours of playing Rocket League. This is what the third button (Quality Determinator) is for. It offers three presets – low, medium and high – as well as a custom option to set your own resolution and file bitrate. If you stick to the given settings (1080p, 60 FPS), 5 minutes of recording will result in: 563MB on low speed, 825MB on medium speed, and 1.9GB on high speed. Obviously, with customization, the file size depends on the settings you choose.
(See also: Nvidia’s new GeForce Experience makes sharing and recording PC gameplay incredibly easy)
This is what we recommend
If you have a reasonably powerful CPU and GPU, and a lot of free hard drive space, then we recommend the following Nvidia GeForce Experience settings for recording gameplay videos:
- Choose between Shadow and Manual to get the best of both worlds: flexibility and control
- Shadow time 10 minutes
- High quality, i.e. 60 FPS at 50 Mbps
- Record at game resolution, preferably 1920×1080 or higher
- In-game audio only
Now that you have your newfound knowledge of recording video games, load up your favorite game because it’s time to become the next Pewdiepie. Or something like that.
For more how-tos, visit our How-To section.

